
Article
Mobius 0.3mm Airbrush Complete Overview and Guide
Explore the Gaahleri Mobius 0.3mm airbrush. Features fine-detail control, top gravity feed, ergonomic trigger handling, and setup maintenance tips.
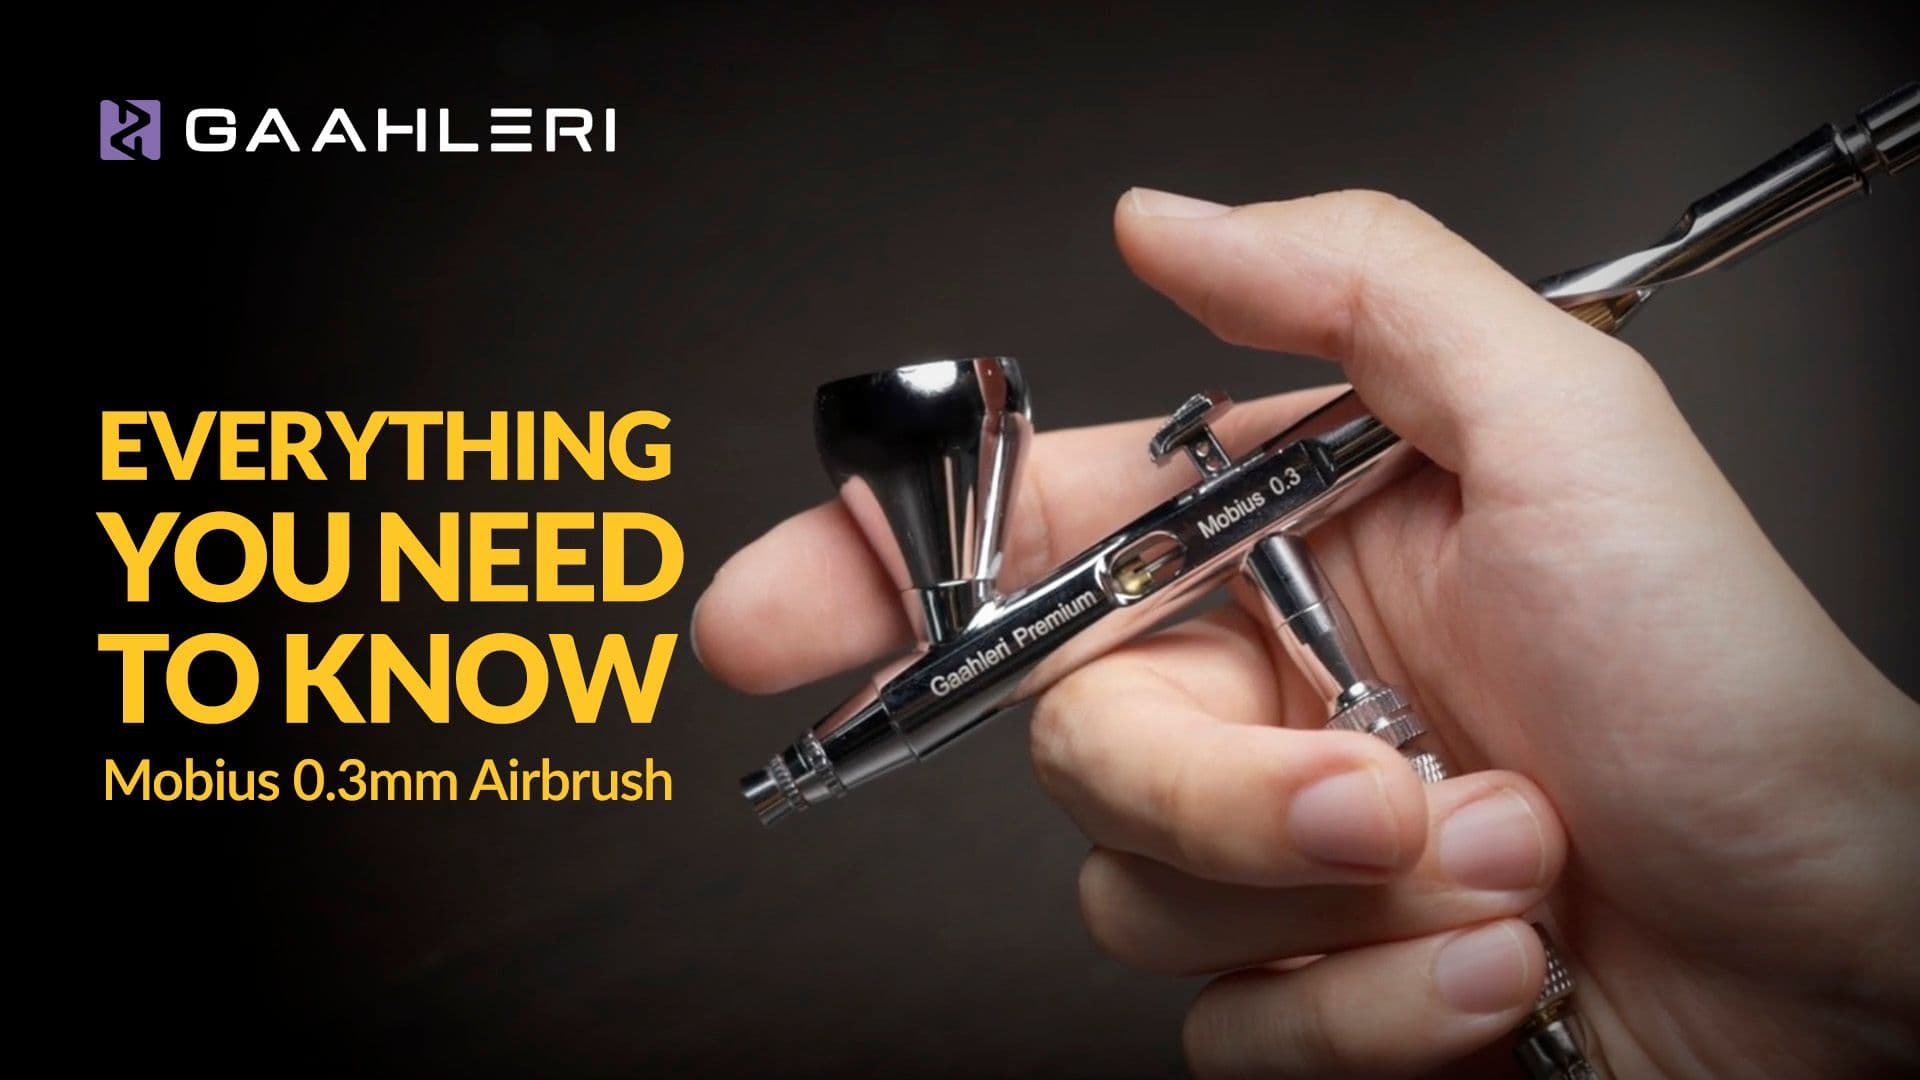
In this article, we’re going to take a complete and in-depth look at the Mobius 0.3mm airbrush. We’ll cover how it’s built, how to safely clean, disassemble and reassemble it, how it performs in real use, and what makes it suitable as a general-purpose airbrush. We’ll also go through some common mistakes you’ll want to avoid, so make sure to read until the end. If you’ve just received your Mobius 0.3mm, or if you’re looking for a reliable daily airbrush for most applications, this guide is designed to help you understand how to use it properly and get consistent results.
What Is Mobius 0.3mm?
The Mobius 0.3mm is part of Gaahleri’s Premium Series, designed for users who want a balance between control, efficiency, and versatility. It is built to handle a wide range of airbrushing tasks without the need to constantly switch tools. With its 0.3mm needle and nozzle configuration, the Mobius 0.3mm is suitable for general airbrushing applications, making it an ideal daily driver for hobbyists, model builders, and artists who work across different project types.
Material and Construction
The Mobius 0.3mm is constructed from copper throughout, giving it a solid, stable feel in hand. This material choice provides consistent weight and balance, helping users maintain steady control during longer painting sessions. The gravity fluid cup is also made from copper and finished with an ultra mirror-level polished interior. This polished surface improves paint flow, reduces paint sticking to the inner walls of the cup, and makes cleaning faster and more efficient. For a general-purpose airbrush, this helps maintain consistent performance across frequent color changes.
Mobius Design DNA

The Mobius 0.3mm shares the same core design DNA found across all Mobius airbrushes. At the heart of the design is the Spiral MAC Nozzle System. This system uses spiral-shaped micro air channels to stabilize airflow before paint atomization. By reducing turbulence, it helps maintain consistent spray patterns, smoother gradients, and predictable behavior across a wide range of air pressures.
The signature Mobius rear cutaway design allows direct access to the internal spring tension system. This lets users adjust the feel of the main lever without disassembling the airbrush, making it easy to tune the airbrush to personal preference.
Balanced weight distribution is another key characteristic of the Mobius series. The airbrush is designed to reduce fatigue and maintain control during long painting sessions. Combined with the ultra mirror-level polished fluid cup, these features support both performance and ease of maintenance.
Main Lever and Control Philosophy

On the Mobius 0.3mm, airflow and paint control are handled through the main lever. The main lever is ergonomically shaped to provide a comfortable resting point for your finger, allowing smooth and predictable control during both short and extended use.
Through the rear cutaway, users can adjust the main lever spring tension to suit their workflow. A lighter setting allows faster response for broader work, while a heavier setting provides more resistance for controlled and deliberate strokes. This adjustability makes the Mobius 0.3mm adaptable to a wide range of painting styles.
Unique Features of Mobius 0.3mm
The Mobius 0.3mm is designed as a versatile, general-purpose airbrush. It offers a balance between detail capability and paint output, making it suitable for a wide variety of tasks.
Compared to finer setups, the 0.3mm configuration allows easier paint flow and a wider margin for error, while still maintaining good control for lines and shading. This makes it well suited for base coating, layering, gradients, and detailed work without constant adjustments.
Needle and Nozzle Sizes Explained
The Mobius 0.3mm uses a fixed 0.3mm needle and nozzle configuration.
This size is ideal for general airbrushing applications, offering a balance between precision and coverage. It works well for miniatures, mecha and Gunpla kits, scale models, and general airbrush artwork. Compared to finer setups, it is more forgiving with paint consistency and pressure, making it a practical choice for everyday use.
Recommended Air Pressure
For the Mobius 0.3mm, we recommend a working air pressure range of 15 to 35 PSI for most applications.
Users may increase air pressure up to 40 to 45 PSI when working with thicker paint consistency or when faster coverage is required. These values are guidelines rather than strict rules. Paint type, thinning ratio, distance, and personal technique will all influence the optimal pressure setting.
How To Clean The Mobius 0.3?

We recommend cleaning the airbrush every time you switch colors, or immediately after you finish using it. Allowing paint to dry inside the airbrush can affect performance and may damage internal components.
1. Start by pouring out any excess paint from the fluid cup and adding the appropriate airbrush cleaner.
2. Block the airflow at the front of the airbrush using your finger or a piece of tissue.
3. Gently press and pull back the main lever to create reverse airflow.
4. This backflow process agitates and loosens paint residue inside the airbrush.
5. You should see the cleaner become stained with leftover paint.
6. Repeat this process until the cleaner runs completely clear.
Disassembling The Mobius 0.3
For deep cleaning, the Mobius 0.3mm can be fully disassembled.

1. Begin by unscrewing the handle.
2. Remove the air cap and nozzle.
3. Loosen the needle chucking nut and carefully pull out the needle from the front as the needle tip is extremely sharp.
4. Gently remove the nozzle.
5. Remove the needle chucking nut.

6. Continue by removing the adjustment knob, spring, needle chucking guide, spring sleeve and main lever.
7. The needle guide can be removed using a specialty screwdriver. Remove only when necessary.

If soaking parts in cleaner or using an ultrasonic cleaner, remove all rubber O-rings beforehand to prevent damage.
Assembling The Mobius 0.3
Once all components are clean and dry, reassembly follows the reverse order.

If you have removed the needle guide, reinstall it using a specialty screwdriver. Tighten it until you feel slight resistance. Avoid overtightening or leaving it too loose.
1. Reinstall the internal components.
2. Begin with the main lever. Fit the main lever into the designated hole until it clicks.
3. Insert the needle chucking guide, make sure the guide plate is aligned correctly.
4. Insert the spring.
5. Screw in the spring sleeve.
6. Reinstall the adjustment knob.

7. Carefully insert the needle from the front of the airbrush.
8. Reinstall the nozzle, nozzle cap, and air cap.
9. Gently push the needle into position from the back without forcing it.

10. Tighten the needle chucking nut.
11. Reinstall the handle.
This process becomes more familiar and quicker with practice.
Common Mistakes
Using paint that is too thick without adjusting air pressure
Overtightening the nozzle
Forcing the needle into place
Over-adjusting the main lever spring tension
Skipping regular cleaning or assuming the airbrush behaves the same under all conditions may also affect performance and consistency.
Who Is Mobius 0.3 For?
The Mobius 0.3mm is for users looking for a reliable daily airbrush that can handle most applications. It is ideal for hobbyists, miniature painters, mecha and Gunpla builders, scale modelers, and artists who want one airbrush that balances control and efficiency. It works well for beginners learning proper technique and experienced users who want a dependable, versatile tool. If you have any questions about the Mobius 0.3mm, feel free to leave a comment below. Watch full video here.Watch the full text version here.